Buying guide
Defender rust inspection: bulkhead, chassis and the rot that writes them off
Aluminium panels fool people into thinking a Defender can’t rot. The steel underneath is where the money goes. Here is where to look, in the order we look.
Disclosure: this article contains affiliate links. If you buy through them, The Reserve Collection may earn a commission at no extra cost to you. It never changes what we recommend. Read our full disclosure.
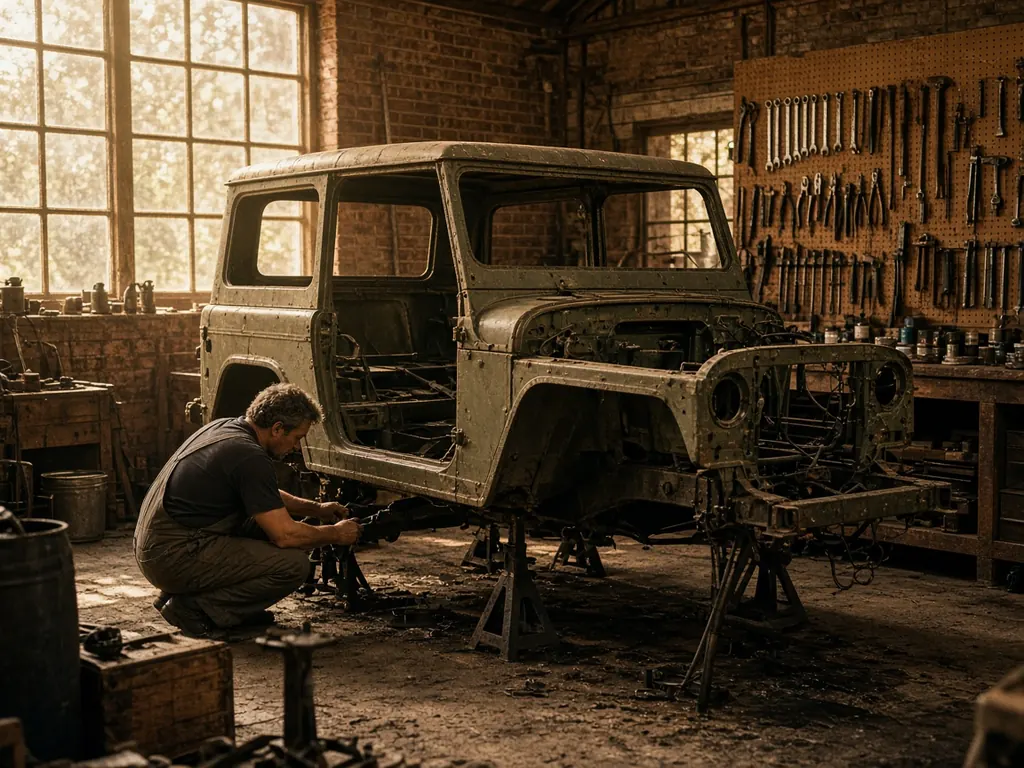
Land Rover built the Defender’s body largely from aluminium alloy, and that has convinced generations of buyers that the vehicle cannot rust. It can, and it does. The chassis, the bulkhead, the door frames and many brackets are steel, and where steel meets aluminium in the presence of salt and water, both metals suffer. Rust is the most common reason a Defender that runs perfectly is still a poor buy. This guide walks through a full inspection in the order we carry it out, explains what each problem costs to fix and covers the decision that eventually faces many owners: repair the original chassis, or replace it with a galvanised one.
Before you start: what to bring
A good torch, a small mirror, a screwdriver or a blunt pick for gently probing suspect metal, overalls, and a mat to lie on. A magnet is useful for detecting filler on steel panels. If the seller objects to you looking underneath or gently probing obvious rust, treat that as information. Ideally inspect the vehicle cold, dry and on a lift; at minimum, on level ground with good light.
The bulkhead: the most expensive area to get wrong
The bulkhead is the steel structure between the engine bay and the cabin. It carries the windscreen frame, the dashboard, the pedals and the front doors, and it is one of the most labour-intensive parts of a Defender to repair because almost everything has to come off to reach it.
The footwells
Lift the mats and look at the footwell floors on both sides. Water enters through tired door seals, the vents and the windscreen, and it soaks into carpets and sound deadening. Bubbling, flaking or soft spots near the edges are the early signs. Footwell repair panels are readily available, and replacing them is a common and reasonable job for a competent welder.
The bulkhead feet and door pillars
Look at the bottom of the vertical door pillars where they meet the chassis, inside and out. These “bulkhead feet” trap mud and water, and they rot from the inside. Probe gently. Severe corrosion here can affect the mounting of the whole bulkhead to the chassis. Repair sections exist, but the work is more involved than the footwells.
The top rail and the windscreen frame
Check the horizontal top rail of the bulkhead beneath the windscreen, where the vents sit. Rust here often starts inside and is only visible when it has gone through. Also inspect the windscreen frame itself, especially its lower corners and its hinges. A rotten top rail is one of the most expensive bulkhead repairs because the dashboard and windscreen have to come out.
As a rough rule: footwells alone are routine, footwells plus feet are a significant job, and footwells plus feet plus top rail mean you should price a replacement galvanised bulkhead.
The chassis: rail by rail
The Defender’s chassis is a ladder frame of welded box sections. It is strong, but it holds moisture inside, which means the visible surface can look fine while the metal thins from within.
The outriggers
Outriggers are the short arms that stick out from the main rails to support the body. The pair under the bulkhead and the pair at the rear are the most vulnerable. They are relatively cheap and straightforward to replace, but heavily rotted outriggers tell you that the main rails around them deserve close inspection.
The rear crossmember
The rear crossmember carries the tow hitch, the rear body and often the fuel tank on a 90. It is the single most common area of serious chassis rot on Defenders of every age. Check its bottom face, its ends where it joins the main rails, and its inside surfaces with a torch and mirror. Replacement crossmembers, often galvanised, are widely available, and fitting one is a common workshop job.
The main rails and spring mounts
Work along the main rails, paying particular attention to the area above the rear axle, the radius arm mounts at the front, and the spring and shock absorber turrets. Look for fresh underseal applied thickly over specific areas, which is sometimes used to hide repairs or rot. Look at weld quality on any previous repairs: neat, continuous welds on properly shaped patches are fine; layers of plating over plating are not.
The body: aluminium has its own problems
The seatbox
The seatbox under the front seats is aluminium, but it is held to steel by steel fasteners and often sits against steel brackets. Where the two metals touch, galvanic corrosion produces a white, powdery residue that eats into the aluminium. Look at the edges and around the seat belt mounts. Seat belt anchorages are safety-critical, and any corrosion there must be repaired properly.
Doors
Defender doors have steel frames with aluminium skins. The frames rot along the bottom edges, and the skins blister where they wrap around the steel. Replacement doors are readily available, so this is a cost item rather than a deal-breaker.
Rear body and tub
Check the rear tub floor, the rear body cappings and the steel cross-supports underneath it. On station wagons, look at the roof gutters and the alpine window seals for leaks that let water into the interior.
Repair or replace: the galvanised chassis decision
A sound original chassis with original welds has real value to collectors, and it is always worth preserving when it is good. If it needs a new rear crossmember and a set of outriggers, repair is almost always sensible. But once corrosion reaches the main rails in multiple places, the economics change. Patching becomes a cycle: every repair exposes another thin section.
Several specialist manufacturers produce new galvanised chassis for Defenders. Fitting one is a major job, because the body, drivetrain and suspension all have to come off, but it effectively resets the clock. A galvanised chassis, combined with the cavity waxing described below, can last decades. When budgeting, include new chassis-to-body fixings, brake lines, fuel lines and the inevitable seized fasteners. Many owners combine a chassis replacement with a suspension upgrade, because everything is already apart.
A practical consideration: in many jurisdictions a replacement chassis can raise registration and identity questions. Check the rules where you live, keep records of the work, and retain proof of the vehicle’s original identity before you start.
Rustproofing a sound Defender
Once the steel is repaired or replaced, protection is cheap compared with the cost of future welding. The approach that works best has three parts: clean, protect inside, protect outside.
- Cavity wax inside the box sections. Use a thin, creeping wax applied through the chassis holes with a long lance so it reaches the full length of the rails. We recommend Dinitrol’s ML cavity wax for this.
- A corrosion inhibitor at metal joints. For seatbox joints, door frames and electrical connectors, ACF-50 creeps into seams and displaces moisture.
- A soft underbody coat. Lanolin-based products such as Fluid Film stay soft, self-heal small scrapes and are easy to reapply each autumn.
Avoid sealing rust in under hard bitumen-based underseal, which cracks over time and traps water against the metal it is supposed to protect.
A simple scoring system for viewings
To keep emotions out of it, we score each area green, amber or red.
- Green: surface rust only, or professional repairs with documentation.
- Amber: footwells, outriggers, rear crossmember, doors. Fixable, but budget for it and negotiate.
- Red: bulkhead top rail, multiple main rail sections, corroded seat belt mounts, or evidence of poorly repaired structural damage. Walk away unless the price reflects a full rebuild.
A Defender with two ambers and a sound chassis is usually a better buy than a shinier one hiding a red. If you are deciding between engines and model years, our 300Tdi vs Td5 vs Puma guide covers the mechanical side, and the Defender history and specs page explains how the vehicle evolved. Need repair panels or a galvanised crossmember? Browse Defender restoration parts or send us a custom request.
Related