Restoration
Restoring a classic Land Cruiser FJ40: a step-by-step guide
The FJ40 is one of the most restorable vehicles ever built: simple, beautifully supported, and worth doing properly. Here is the order of operations that saves time and money.
Disclosure: this article contains affiliate links. If you buy through them, The Reserve Collection may earn a commission at no extra cost to you. It never changes what we recommend. Read our full disclosure.
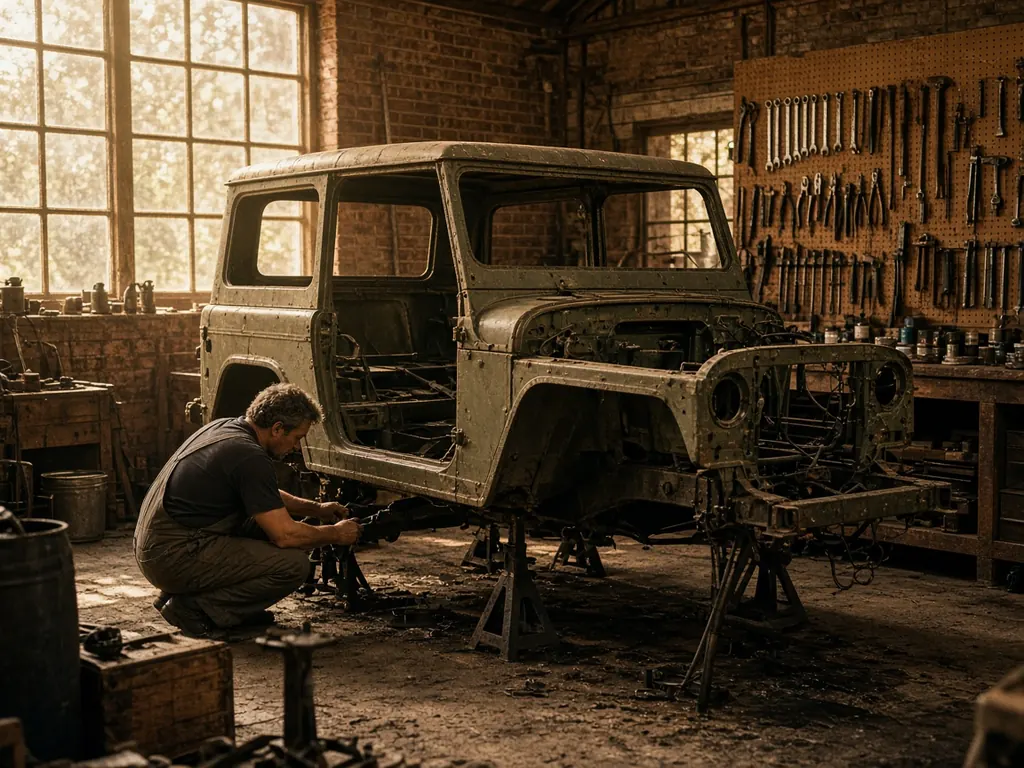
The Toyota Land Cruiser FJ40 is one of the great restoration subjects. It is mechanically simple, built on a sturdy ladder frame, and supported by a large community of specialists and reproduction parts suppliers. A well-restored FJ40 is also a valuable thing. But restorations fail far more often from poor planning than from poor workmanship. This guide sets out a practical, step-by-step approach to restoring a 40 Series, from deciding what kind of restoration you want to the final shakedown drive.
Step 1: Decide what you are building
Before you remove a single bolt, decide on the goal. It determines your budget, your parts choices and how long the project will take.
- Concours or factory-correct: original specification throughout, correct finishes, period-correct parts. The most expensive and time-consuming route, and the one that best preserves value for original examples.
- Restomod: the classic look with modern upgrades such as disc brakes, power steering, improved suspension, a modern engine or a five-speed gearbox. Better to drive, but valued by a different set of buyers.
- Driver-quality refresh: mechanically sound, structurally solid, presentable rather than perfect. The best choice if you want to use the vehicle regularly.
Write the goal down and refer to it every time you are tempted to change direction mid-project. Changing direction is the most common reason restoration budgets double.
Step 2: Assess honestly
Every 40 Series rusts somewhere. The common areas are the floor pans, the rocker panels and the body mounts, the lower door sections, the rear corners of the tub, the wheel arches, the windscreen frame and the area around the rear crossmember. The frame itself is strong, but check the rear crossmember, the spring hangers and the inside of the rails, especially on vehicles from wet or salted climates.
Photograph everything and keep a written list. Check the identification numbers on the frame and the plates, and confirm that they match the paperwork. Engine number, gearbox, transfer case and axle codes tell you whether major components are original, which matters for a factory-correct restoration.
Then do the maths. Price the body panels, frame repairs, mechanical rebuild, paint, upholstery and wiring, add a contingency of at least 30 per cent, and compare the total with the price of a better starting vehicle. A higher purchase price often saves money overall.
Step 3: Plan the teardown
Disassembly is where many projects lose their way. Work methodically:
- Photograph each assembly before and during removal, from several angles.
- Bag and label every fastener, bracket and clip, noting where each came from.
- Keep a parts inventory spreadsheet listing each item’s condition and whether it will be reused, restored or replaced.
- Store the body tub, doors and panels where they will not be damaged.
A frame-off restoration, separating the body from the frame, is the norm for serious FJ40 projects because it gives full access to the frame and the underside of the tub.
Step 4: Frame and chassis
With the body off, clean the frame thoroughly. Media blasting reveals the true condition of the metal and prepares it for coating. Repair or replace damaged sections with metal of the correct thickness, and check the frame for straightness, especially if the vehicle has a history of accidents or heavy off-road use.
Once repaired, protect the frame with a durable primer and topcoat. Many restorers seal the inside of the rails as well; a product such as POR-15 rust preventive coating works well on properly prepared metal, and a cavity wax can be applied inside the rails after final painting.
Step 5: Body and rust repair
Reproduction floor pans, rocker panels, tub corners and other sections are widely available for the 40 Series. Quality varies, so test-fit panels before cutting the old metal out. Replace rot with new metal rather than covering it with filler. Use seam sealer on all joints that were sealed at the factory; 3M seam sealer is a common and dependable choice.
Pay attention to panel gaps and door alignment before paint. It is far easier to adjust hinges and mounts now than after the vehicle is painted.
Step 6: The engine
Most FJ40s were fitted with Toyota’s F engine, a 3.9-litre overhead-valve inline six, or from 1975 its successor the 2F, a 4.2-litre version. Both are known for their durability and low-speed torque. Diesel engines were offered in some markets, but are uncommon in North America.
A rebuild typically includes machining the block and head as needed, new pistons and rings, bearings, a new timing gear set, an oil pump, gaskets and seals. Rebuild or replace the carburettor, the distributor and the water pump. Upgrade the cooling system with a new or re-cored radiator; the F-series engines will run cool for a long time with a healthy cooling system.
If you are building a restomod, decide now whether you will keep the original engine. Many owners do, because its character is part of the vehicle’s appeal.
Step 7: Drivetrain, suspension and brakes
Rebuild the gearbox and transfer case, replace the universal joints, and inspect the propshafts. The axles should be stripped, cleaned and inspected; replace bearings and seals, and service the front knuckles, which contain the Birfield joints and trunnion bearings. Check the leaf springs; tired springs can be re-arched, but new springs are often a better solution.
Brakes should be renewed entirely: new lines, hoses, wheel cylinders or calipers, and a master cylinder. Many restorers convert early drum front brakes to discs for safety, which is a sensible compromise even on otherwise original vehicles.
Step 8: Wiring
Original wiring harnesses are now very old, and brittle insulation is a fire risk. A new reproduction harness is one of the best investments you can make. Install it carefully, route it away from heat and sharp edges, and use quality connectors. Test each circuit before final assembly.
Step 9: Paint
Paint is where a restoration’s quality becomes visible. Spend time on preparation; the final finish can only be as good as the surface beneath it. If you are restoring to factory specification, research the original colour codes for your model year and market. Paint the tub, doors and panels separately for full coverage, and paint the inside surfaces as well as the outside.
Step 10: Interior and reassembly
Reproduction seats, door cards, rubber seals, carpets and soft tops are widely available. Install new seals throughout to keep water and dust out. Reassemble methodically, using your photographs and parts inventory. Replace fasteners with new hardware of the correct type and finish.
Step 11: Shakedown
A freshly restored vehicle will have small problems. Drive it gently at first, gradually extending the distances. Check for leaks, loose fasteners and unusual noises. Re-torque wheel nuts, suspension bolts and propshaft bolts after the first few hundred kilometres. Change the engine oil early after a rebuild.
Realistic budgets and timelines
Costs vary enormously by region, condition and how much work you do yourself, so treat any figure as a rough guide. A driver-quality refresh done largely at home can cost a fraction of a professional concours restoration, which can easily exceed the price of a new vehicle. Timelines are similar: a home restoration often takes two to three years of weekends.
The best advice is simple: buy the best vehicle you can afford, define the goal, plan carefully and do not cut corners on structure, brakes or wiring.
For FJ40 history and specifications, see our Land Cruiser page. To source restoration panels and parts, browse Land Cruiser restoration parts or send us a custom request. Considering a later Land Cruiser instead? Read our 80 Series buyer’s guide.
Related